
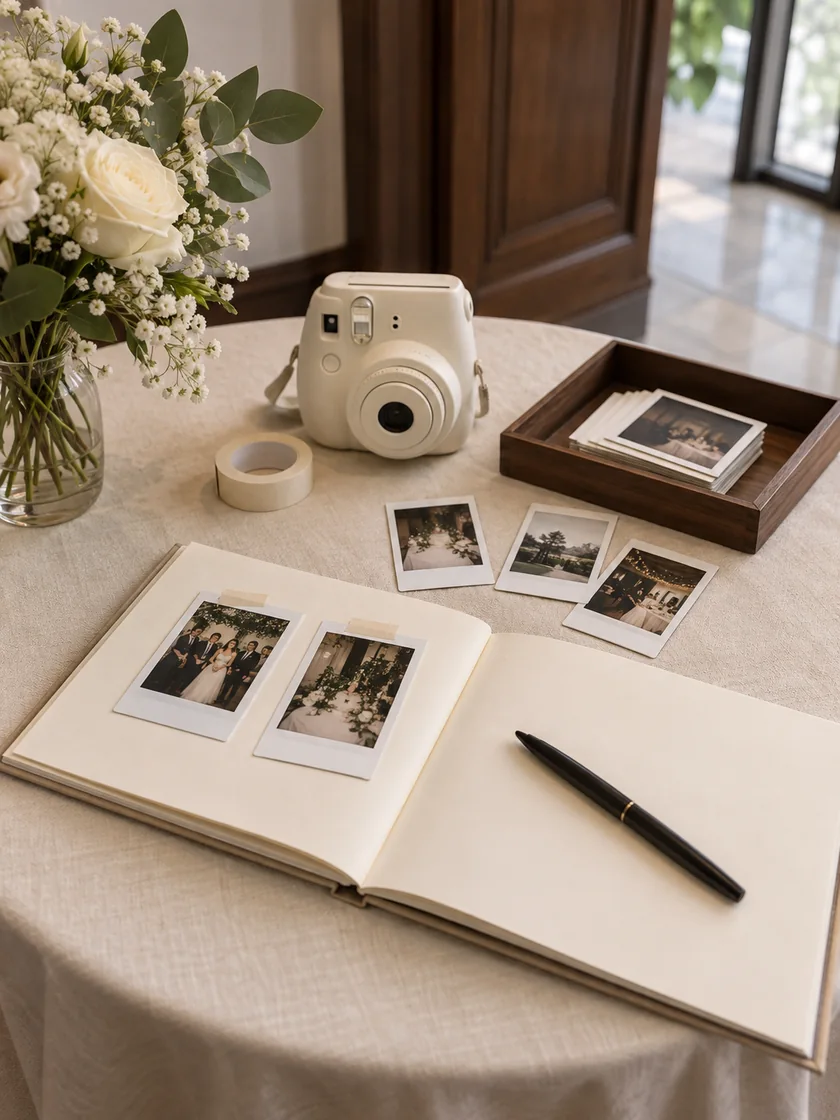
1. Choose a physical album or digital book
Would you enjoy turning handwritten pages, browsing a digital book, or choosing photographs for an album yourself? Start with the kind of book you would like to open after the wedding.
| Approach | Guests | Your next step |
|---|---|---|
| Physical album | Attach a print and write beside it | Make a sample page |
| Digital guestbook | Take a photo and leave an optional message | Try the digital option |
| Make the book later | Share photos from their phones | Set up a collection link |
2. Choose the print and make a sample page
Choose an instant camera, a phone printer or copies from a hired booth before buying the album. The print size determines how much room remains for names and messages. If your booth supplies album copies, you may not need another camera.
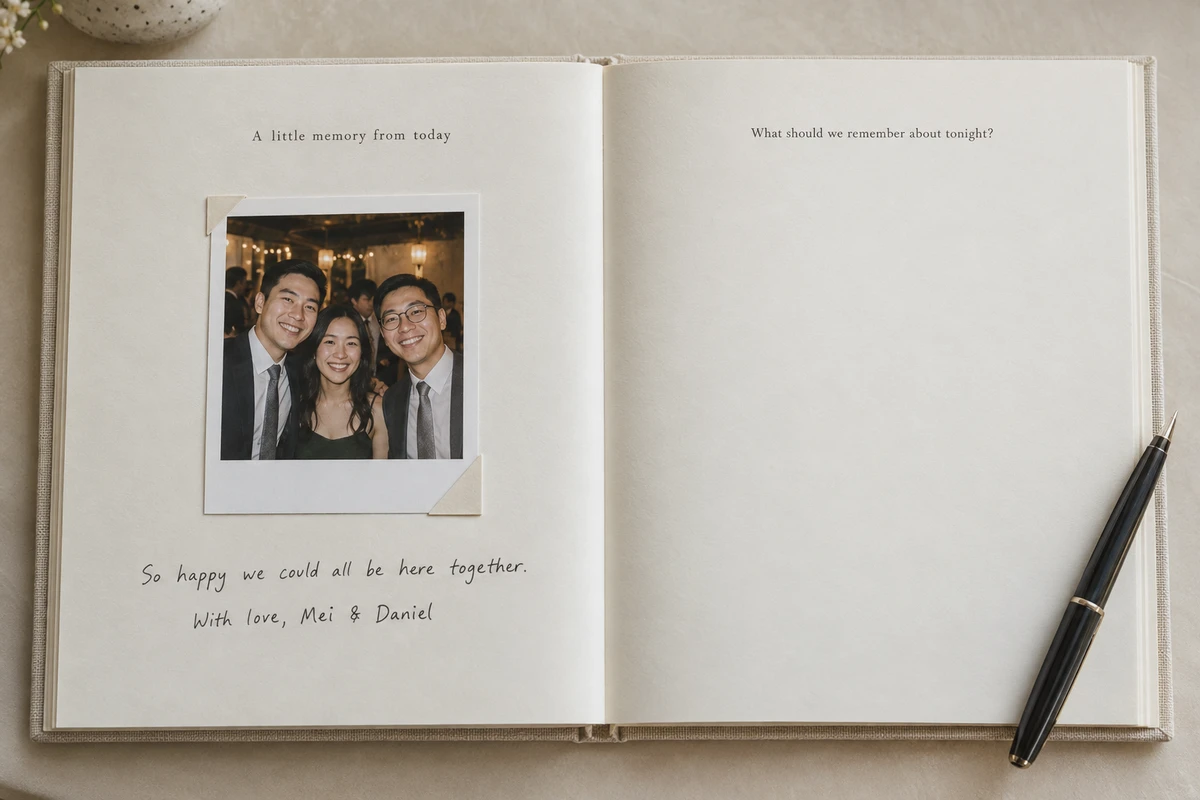
Try making one page with your chosen print, album and pen. Leave room around the picture for a message, and check that the pen feels comfortable to write with. A sample page will also help guests see what you have in mind.
- Camera or print service: Try a photo in lighting similar to the reception; check how extra copies are made.
- Album: Leave writing space and room in the binding for added photos.
- Photo corners or mounting tape: Use supplies intended for photographs; try them on your album pages.
- Pens: Test for smudging and show-through; put out a spare.
- Instructions and example page: Make it clear whether a print goes in the book or leaves with the guest.
- Spare supplies: Keep film, batteries or printer supplies together for your helper.
A colour from your invitations or the same lettering on the sign can tie the table to the rest of your wedding. The photographs and messages can do most of the decorating.
For equipment costs and the work involved, compare DIY photo setups with a hired service.
3. Count pages, copies and spare supplies
Think in photos and messages, rather than one page per guest. Couples and groups may enjoy contributing together.
For example, 40 contributions at two per page need 20 writable pages, plus spares. Count each side you can write on, and check whether the seller means pages or sheets. Try your layout before buying the album.
One copy in the album leaves none for the guest. If you want both, confirm duplicate copies with the supplier and include them in the allowance.
An analogue instant camera needs another shot for another print. A smartphone printer such as the Instax mini Link 3 can reprint an image. Check your device before promising “one for us, one for you”.
4. Arrange the table around the guest steps
Give the guestbook a place where people can linger, away from the registration queue. Allow room for one group to take a photo while another writes.
Your coordinator can help choose the spot and confirm when it needs clearing. At a banquet, decide whether the book should move inside after guests leave the foyer.
A simple table arrangement to try:
Instructions and camera → space for prints → open album and pens.
An Instax mini 12 photo takes about 90 seconds to develop, depending on temperature. Space for prints beside the album lets the next group use the camera while others wait and write.
Keep drinks away from the book and provide a comfortable place for anyone who needs to sit while writing.
5. Write the sign and a welcoming prompt
A short sign and a finished example page can explain the contribution:
If guests get a second copy, say so on the sign.
One gentle prompt can help someone find their first few words:
- What should we remember about tonight?
- What is a memory you share with us?
- What would you like to wish us for the years ahead?
A name and a few words are enough. Translate the short instructions if helpful, and welcome messages in whichever language feels natural to your guests.
6. Test the setup and brief your helper
Invite a friend to try it using just the sign; their questions will show you what needs explaining. For a hired service, ask whether album assistance is included.
A friendly introduction can be more helpful than a longer sign. Ask someone to welcome the first few guests, show them the camera and keep supplies topped up. Agree a helping window so that person can enjoy the wedding too.
7. Collect and save the finished book
Ask someone to gather the album and loose prints before the venue clears the table. Later, photograph or scan the pages as an additional record.
For a digital book, save the photos and messages included in your package before access ends. Then take some time to enjoy what your friends and family left for you.
Would a digital photo guestbook suit you better?
If you prefer a digital book, Monotone’s wedding photo guestbook pairs guests’ photos and optional notes or drawings with custom black-and-white photo receipts. Guests take the photos on their own phones; an operator handles the agreed printing setup and collection.
The receipt and guestbook design can use your wedding names and artwork. Before the day, agree the print copies and collection space. Afterwards, you receive a digital book with the photos and any messages or drawings your guests added.
Monotone captures new photos. Pictures already on guests’ phones need a separate collection link. Before choosing any digital service, test what guests can see, whether an account is needed and how you download the files.
Planning an event?
Get in touch for availability and pricing.
Contact usSee the wedding photo guestbook